I finally got my Ipsy bag in the mail yesterday! From first opening it, I really liked what I saw except the false lashes. I just don't have a need to wear them, so those will be going my sister as I know she'll use them. Everything else, I think I will like!
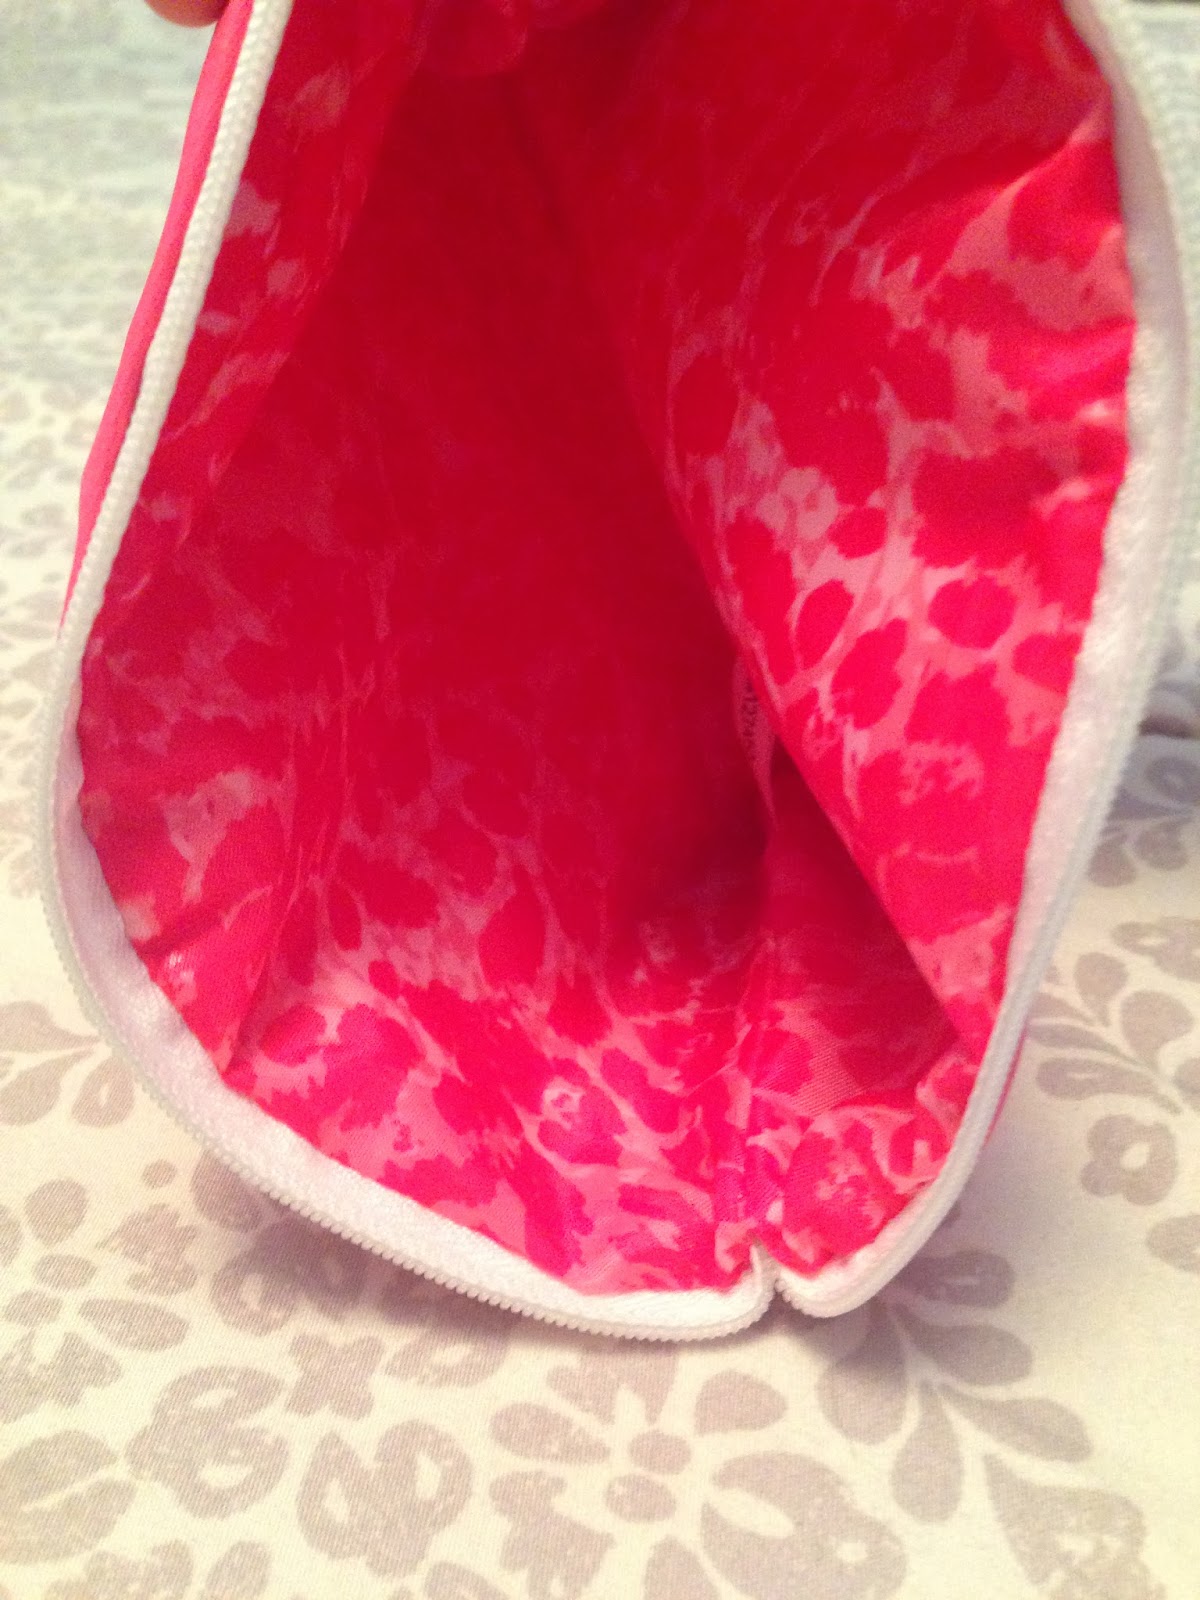
First of all the bag is super cute! It has a leopard inside!!
Next in my bag is a Zoya nail polish. This product I'm not thrilled about, but not disappointed. I just have so many nail polishes already and a few in a similar color. I do love the formula of the Zoya nail polishes though. It's a milky, baby pink color in DOT.
My next item is from POP beauty. It's a Plump Pout Mini in Peony Petal. I really love the color and am super excited to try this product out!
Skin Rescue Deep Cleanser. I'm excited to see if this really helps clogged pore. I have clogged pores on my nose, so we'll see if it really works.
J. Cat lashes in EL15. I don't have a use for false lashes so these will be going to my sister.
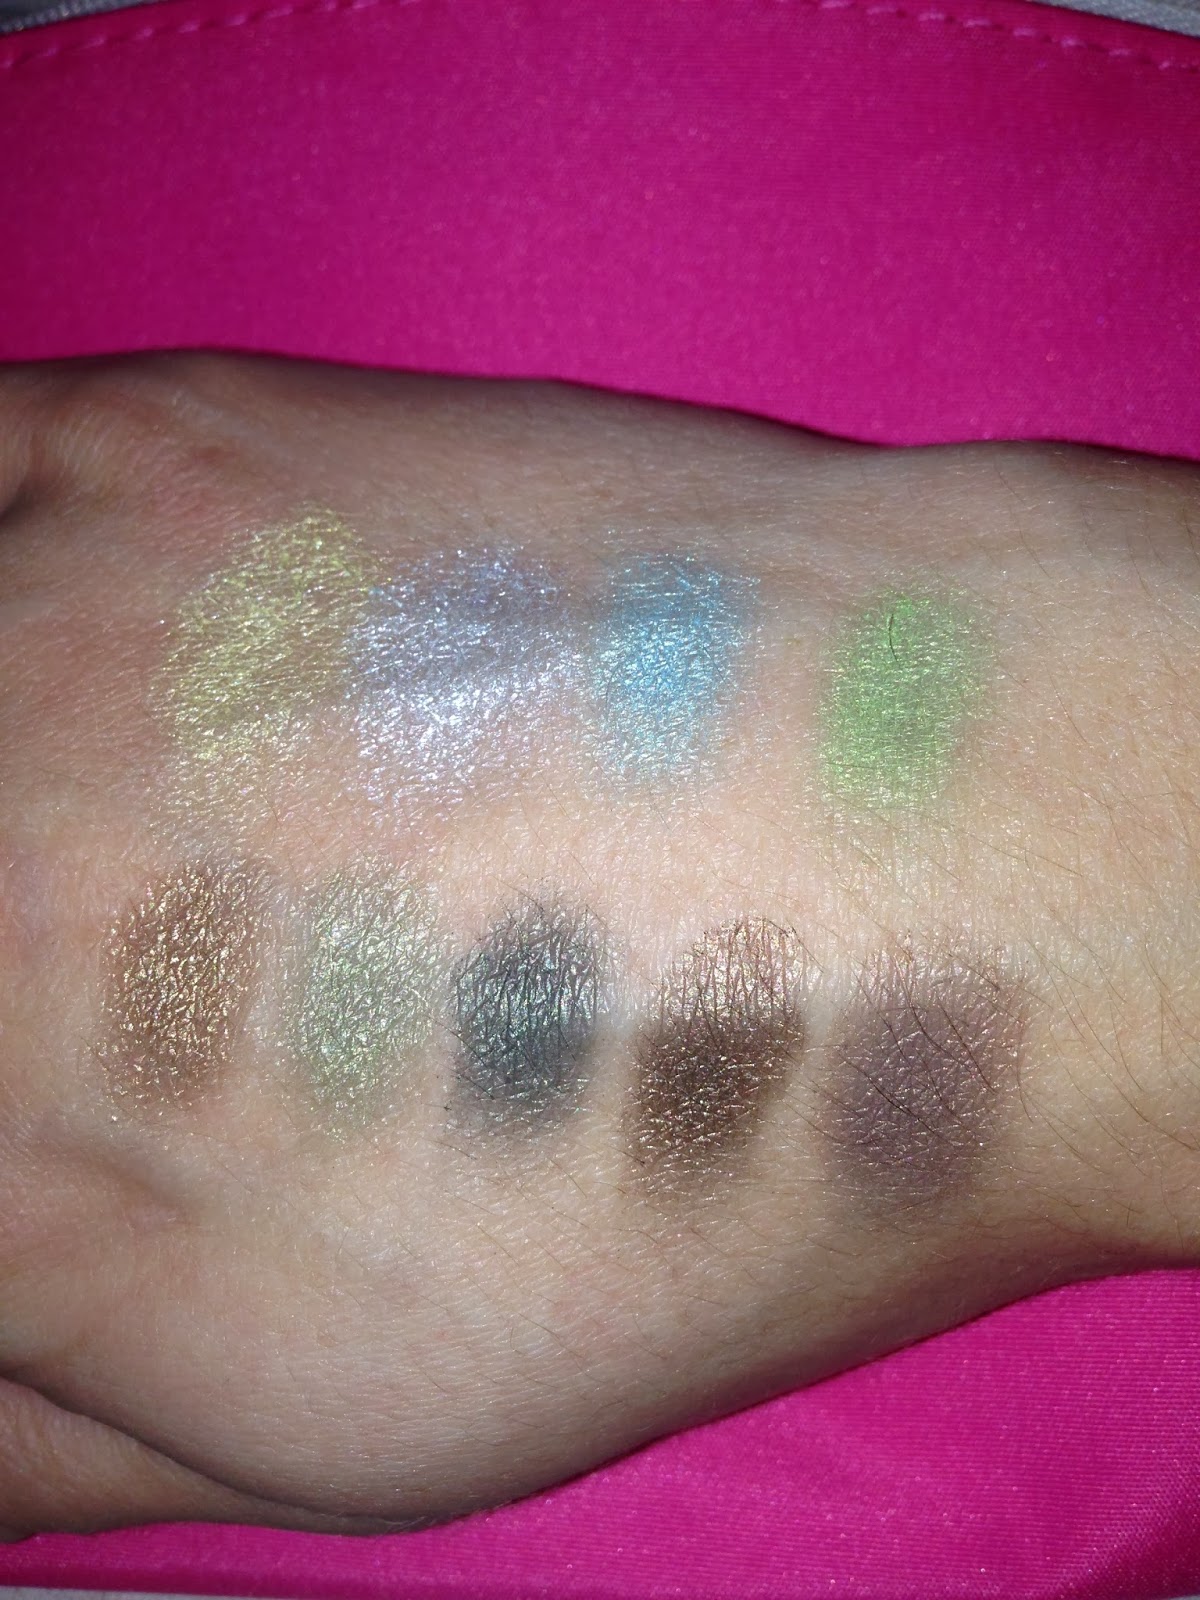
Jesse's Girl Eye Shadow Palette in The Eyes Have It. From first glance I love these colors! Perfect for a St. Patty's Day Eye look ;). When swatched it took a little to build up the color, but they were really soft. Only one color was a little flaky and that was the dark olive green (3rd to last).
with flash
no flash
Overall I really like everything I received in my Ipsy bag. I cannot wait to try the products out!
Thanks for reading!
Join me on ipsy and subscribe to the Glam Bag! You get 4-5 beauty products every month delivered to your door, for just $10. Michelle Phan curates the bags! Check it out here: http://www.ipsy.com/r/28ji
Another requested topic was all about Contouring & Highlighting.
Now I am no pro at this and still learning new tricks of the trade. This can be a little scary looking at first, but it will all come together and look natural.
You can either use cream products with a powder product on top or just a powder product. If you're just beginning I would suggest all powder products until you get comfortable and want to try the cream. I myself use all powder products except sometimes I do use a cream highlight and set it with a powder highlight.
Know that whatever you contour with a dark shade will appear sunken in or smaller and anything you highlight with a light shade will appear more raised.
Rimmel Natural Bronzer, Wet N' Wild Coloricon in Reserve your Cabana for a powder highlight, Benefit's Watt's Up! for a cream highlight.
3 simple steps
1. Contour
2. Blush
3 Highlight
RED= CONTOUR
YELLOW= HIGHLIGHT
TEAL= CONCEALER FOR EXTRA HIGHLIGHT (USE A SHADE OR TWO LIGHTER THAN SKIN TONE)
VIDEO SHOWING APPLICATION IS BELOW
You first want to apply your foundation, concealer and powder.
I always do my contour next with my bronzer. You will want a matte bronzer a few shades darker than your skin. You will apply the bronzer at the temples, hollows of your cheekbones, jaw line/neck, sides of your nose (optional), and below your bottom lip (again optional). You will use the 3/E method (temples, hollows of cheekbones, and jaw line) to apply the bronzer.
When trying to figure out where your hollows of your cheekbones are you will want to make the fishy face. You will have a natural indent and that is where you place your bronzer.
Next I apply my blush. I like to place my blush on the backs of my cheekbones, toward my hair line to make the face look lifted. I then add just a bit of whatever is left on the brush to the apples of my cheeks.
Lastly, I apply my highlight. I apply the highlight to the highest points of my face. That would be the tops of my cheek bones, cupids bow (right above upper lip), down the bridge of my nose, and then I like to put a little on my chin and just below the contour on my temples right above the brow. If you have oily skin, go easy on the highlight as it can make you look even more oily. I on the other hand have dry skin, so I love me some highlight. My skin can tend to look a little dull so I liven it up a bit with the highlight. Also a lot of people use their concealer in an upside down triangular shape to highlight under their eyes, I do this every once in a while.
After all 3 steps are done, make sure you BLEND, BLEND, BLEND!! Blend everything together in an upward motion, but out to your hair line to get rid of all the harsh lines.
Just know that this is how contouring and highlighting works for me. Every one's face shape is different and there are different ways to contour to flatter your face.
If you have an oblong, rectangle and square face you will want to contour the corners of your face to make them appear angular and slim. To give your face more dimension highlight your forehead and chin.
Diamond shape face: You want to contour your cheekbones since they are the highest and widest part of your face and it will even it out. Highlight your chin and forehead to elongate them and balance out with the rest of your face.
Inverted triangle & heart shape: These face shapes are already angular so what you're really just doing is enhancing them. Contour your temples and cheekbones (what I do in my video). Highlight your forehead and chin
Triangle: Contour the sides of your face to slim them down. Highlight your chin so it lengthens it as well as your forehead and underneath your eyes to give the illusion of cheekbones.
Round: Contour temples, cheekbones and sides of jaws. Highlight your chin and forehead.
Oval: Contour cheekbones and highlight forehead and chin.
Really it's up to you and what you want to have stand out or be slimmer. Just play around until you find something that you like for your face shape. These aren't rules, just guidelines.
Hope this was helpful. Like always leave your requests or questions with me at: marissa.agueros@gmail.com
With all my posts, I strive to write about content that my readers want to read or learn about. So as always leave your requests with me. Making my readers happy makes me happy!
I was asked to write a post all about exfoliating. Exfoliating is a key in the dry/cold Winter months and if you self tan! Exfoliating brings life back into your skin, just make sure you don't over do it!
When it comes to exfoliating you only want to exfoliate 2-3 times a week. I will share the steps I do to exfoliate to achieve healthy, glowing, soft skin.
2-3 times a week while I'm running the water to start my shower, I will take my dry brush (Wal Mart-$5) and exfoliate my whole body. With the dry brush you want to work from your feet up and always go toward your heart. Go over every section twice. When I get to the thigh & buttocks area I go in circular motions to help get rid of cellulite. It takes 2 mins and you can do it while your shower is warming up. Easy.
Now for your face, again, you only want to exfoliate 2-3 times a week. You can either do it morning or night. I choose to do mine in the morning since I have dry skin it helps make a smooth canvas for my make up. You want a fine and not harsh exfoliant. You can always make your own out of olive oil and sugar or baking soda, if you don't want to go out and buy a pre made kind. You can control the amount of grittiness by the simple DIY. I also have a Conair True Glow Facial Brush, that I just use a few times a week with my exfoliant. I feel the brush really gets all the dead skin off my face.
Now when it comes shower time, I use a sugar scrub. I get it at Wal Mart for around $5. I love the smell of it and it's a bit harsh, but I don't mind it. I know that it's getting all the dead skin off.
Another type of exfoliant I use is for my lips. This is a must for me. Since I have dry skin along comes the dry lips. You will really want to use this if you are going to be wearing a dark lipstick as it will really bring out all the flakes on your lips.
Just make sure that you really moisturizer your face, body and lips to keep them soft and smooth.
The Clean & Clear Facial Scrub has bigger beads in it than the Benefit one, but I love them both for my dry skin. The Mint Julips is from Lush and it is a miracle worker for my dry lips.
This is the $5 body scrub I use and I am in love with the smell. It smells like the Jergen's Almond Cherry lotion. The $5 dry brush is below the scrub. It comes with a handle that can attach for those hard to reach places.
My Aunt requested a Valentine's Day look so here it is! It's a neutral eye with a bold lip. If you're not feeling the bold lip you can opt for a nude or a pink. This eye look is created using the Urban Decay Naked Basics Palette. All the shades are matte except for the lid color we used, it's a pearly white. You can wear this eye look as an everyday look, it's my go to eye when I'm in a hurry. If you want it more dramatic for night time just take a black matte eye shadow and put that in the outer V instead of the matte brown.
If you don't have this palette you can easily find similar colors!
Brows can be tricky, but you must remember that brows are sisters not twins!
Everyone's brows are going to be different and to figure out the best brow shape for you is what this post is about! Brows really do make a difference, so put down the tweezers & get to fillin'!
Below is the best diagram I could make.
All you'll need for the perfect brows is a spoolie, scissors, an eyeliner and your brow product (will get to later on).
The first red line by my nose is where your brow should begin. It should never pass the bridge of your nose. You can use a ruler to make an imaginary line and mark it with your eyeliner.
The next red line goes from the corner of the bottom of my nose, just to the outside of the colored part of your eye. Extend your imaginary line up and that's how you find where your arch should be.
The next line goes from the corner of the bottom of my nose, to the outside of my eye. Again make an imaginary long up and that should be where your brow ends.
Now the horizontal line going from the front of my brow to the tail of my brow should be the same length across, if that make sense. So your tail should come down as far as the beginning of your brow.
Those are the steps to figuring out the perfect brow shape for yourself. Just do the same on the other side.
Now for maintaining your brows. I usually do this once a month or when needed. I take my spoolie brush and brush all the hairs up. Whatever goes above my natural brow shape I trim with scissors. Do the same thing, but brush hair downwards, trim excess. You can then pluck whatever hairs are out of your natural shape.
If you've done a big no no and have waxed or tweezed too much and are in the process of growing out your brows, always pluck the hairs farthest away from your brows as they are more noticeable.
Now when it comes to filling in your brows you can either use a pencil, brow wax, brow mousse, ect. Whatever you're more comfortable with. I use either a wax or pencil. If you're just starting out I would opt for a wax since pencil looks too drawn on.
If you have lighter eyebrows go for a shade or 2 darker in whatever brow product you are using. For darker brows use a shade or 2 lighter.
You want to start filling in on the bottom part of your brow and the arch. Those you want the darkest for a more natural look. You want to use a light hand and small short strokes to mimic hairs. Don't change the width of your eyebrow as it will look unnatural, keep the width it already is, just fill in sparse spots.
When done filling in brows, take your spoolie and get rid of any harsh lines the wax or pencil has made. Once done, you can set with a clear brow gel to hold the brows in place.
Video showing how I fill in (rough/fast version)
I hope this post answered any questions you had about brows. If not leave a comment below and I'd love to help!
I got the opportunity to do make up for my sister, sister in law and myself for my sister's wedding just a few months back.
I've got to admit I was nervous as I've never done make up on other people so it was all new to me. But looking back it made me realize my love for make up even more. Maybe one day I'll persue my dream and go to school for it.
Here's a few pictures of us getting ready and the outcome! She made such a stunning bride!!
Thank you sis for allowing me to do something I love on your big day! <3
It's the middle of the month and that means I've received my monthly Ipsy bag!
This months bag has cute little beauty products on it.
Absolute! Make up cleansing tissues. I haven't used this yet, but they smell pretty good!
Yaby foundation in Buff. This is the perfect shade for me. It's a light coverage like that of a BB cream. Makes for a good base to even the skin for just a day of running errands.
Benefit Porefessional Primer. This has to be my favorite of the bag. I suffer from dry skin on my t-zone and my foundation is usually flakey/patchy after a few hours of wear. With this primer I went 12 hours wearing my foundation and not a single flake!
This body balm is to be used on your driest areas. Smell like a heel repair cream I have and the texture looks like grits and it leaves a greasy feel after rubbing it in. If you use it on your feet be careful and put socks on! . I'm still unsure about this product.
This mojito lip balm is heaven for my dry lips! It feels like a sticky version of Vaseline. It's very moisturizing and I am in love with it!




.JPG)

.JPG)


.JPG)


