It's time for monthly favorites. I didn't have much this month, but that's okay.
1. I've been loving the Neutrogena SkinClearing Foundation again. I had to go out and buy a lighter shade for Winter. It's medium coverage and is super light feeling on the skin.
2. Benefit Porefessional. I got this in my Ipsy bag and the minute I used it I knew I had to go out and buy it. So that I did. I have the full size waiting to be opened.
3. Pixi Bronzer that I received in an Ipsy bag as well. I use it as blush as it gives just the right amount of glow.
4. Clean & Clear morning burst. I mentioned it in my Exfoliation post. If you haven't read that do so after reading this post :). It has just the right amount of grit and leaves your skin super smooth.
5. Garnier Fructis Pure Clean clarifying shampoo. I mentioned that in my hair care post. It leaves your hair super clean and light feeling even a few days after washing.
6. ELF Eyebrow kit. This has been my favorite for the last few months. Its super easy to use and makes those brows on point.
7. NYC lip gloss. I am really loving this lip gloss. It's a pretty peachy/nude shade and goes with any look.
8. Maybelline Line Stilleto. This is super black and easy to apply. It dries to a matte finish. I'll be repurchasing it for sure!
Back again with yet another post, this time all about my hair care routine.
I only wash my hair 2-3 times a week. The days I don't wash it, I use dry shampoo to soak up the oils.
Washing- When I wash my hair I usually use a clarifying shampoo to get all the build up of products out. I really like the Garnier Fructis Pure Clean Shampoo. It leaves your hair so clean and so light feeling even a few days after washing it. If I do use just a regular shampoo, I'm not picky on the brand, just whatever I feel like trying at the time of purchase, same goes for my conditioner. I usually opt for something that is really moisturizing and not for volume since my hair is pretty thick.
Conditioning- For conditioner I usually use a deep conditioner or repair mask since I only wash my hair a few times a week. I want something that will hydrate it really well.
When I get out of the shower I usually let my hair towel dry for 15 minutes and then go in with the Healthy Hair Soy Tri-Wheat leave-in conditioner. I then take the wide tooth comb (from Sally's for a couple of bucks) starting at the ends and work my way up. Then I will take 2 pumps of the Suave Moroccan Argan Oil and apply mostly at my ends, working the excess no higher up than my ears. The Argan Oil will serve as a heat protectant when drying your hair.
I usually let my hair air dry for another 15 mins or so before I blow dry it. Once I'm done blow drying, I will take the Beyond the Zone Smooth Criminal heat protectant and spray all over, then comb through from ends to root to distribute it evenly. Now you're ready to style with heat.
Once styling is done, I take 1/2 a pump to a pump of the Argan Oil to smooth the hair, mostly at the ends and never past the ears.
I finally got my Ipsy bag in the mail yesterday! From first opening it, I really liked what I saw except the false lashes. I just don't have a need to wear them, so those will be going my sister as I know she'll use them. Everything else, I think I will like!
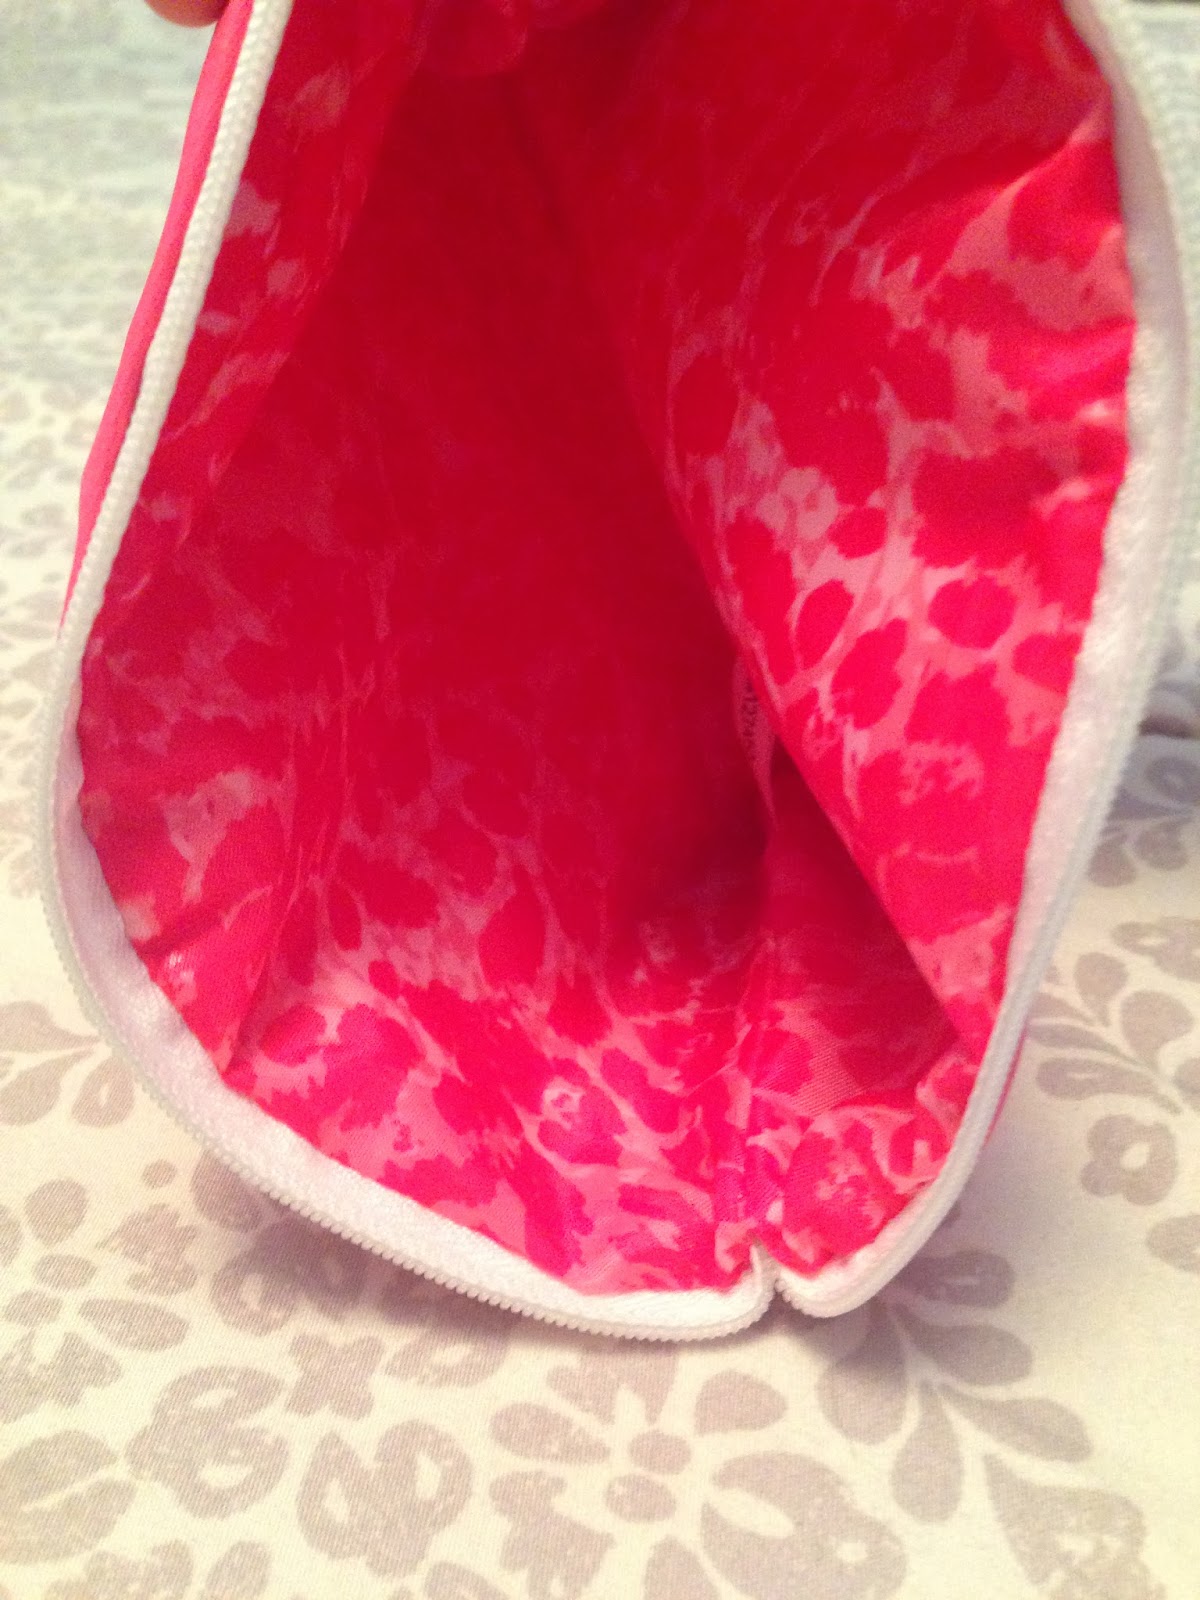
First of all the bag is super cute! It has a leopard inside!!
Next in my bag is a Zoya nail polish. This product I'm not thrilled about, but not disappointed. I just have so many nail polishes already and a few in a similar color. I do love the formula of the Zoya nail polishes though. It's a milky, baby pink color in DOT.
My next item is from POP beauty. It's a Plump Pout Mini in Peony Petal. I really love the color and am super excited to try this product out!
Skin Rescue Deep Cleanser. I'm excited to see if this really helps clogged pore. I have clogged pores on my nose, so we'll see if it really works.
J. Cat lashes in EL15. I don't have a use for false lashes so these will be going to my sister.
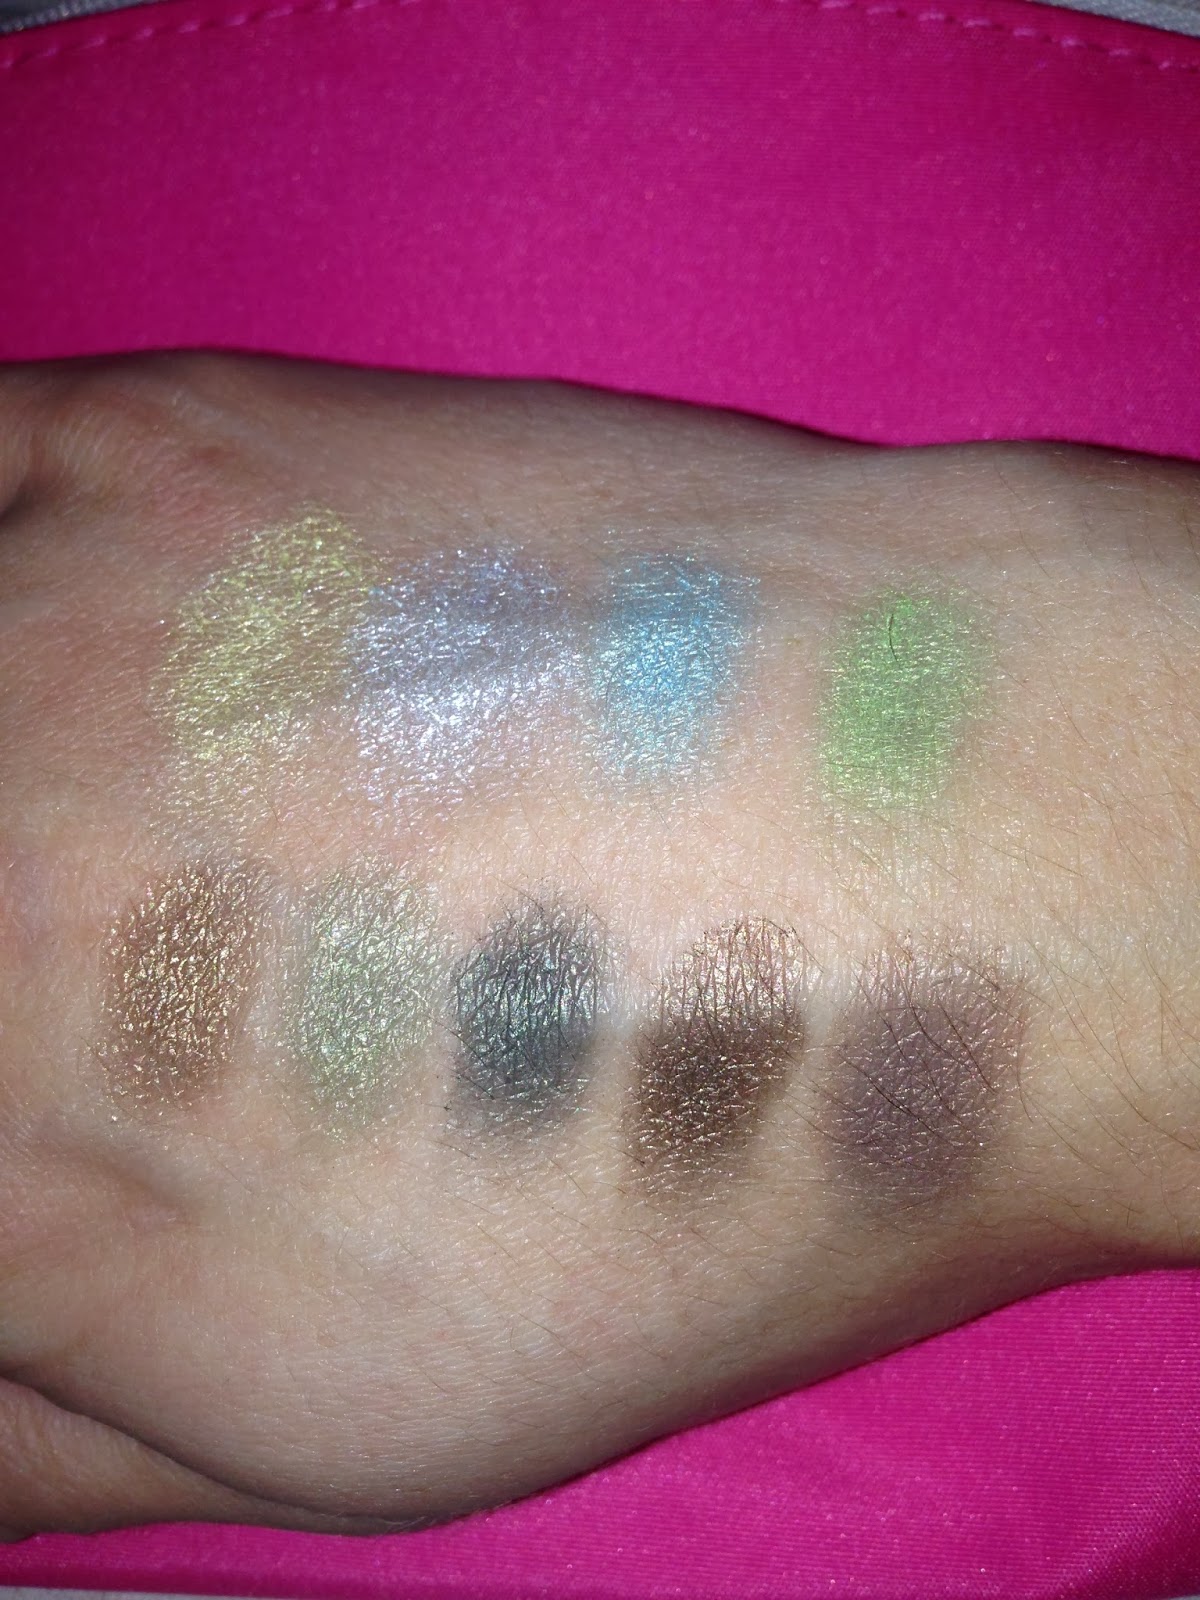
Jesse's Girl Eye Shadow Palette in The Eyes Have It. From first glance I love these colors! Perfect for a St. Patty's Day Eye look ;). When swatched it took a little to build up the color, but they were really soft. Only one color was a little flaky and that was the dark olive green (3rd to last).
with flash
no flash
Overall I really like everything I received in my Ipsy bag. I cannot wait to try the products out!
Thanks for reading!
Join me on ipsy and subscribe to the Glam Bag! You get 4-5 beauty products every month delivered to your door, for just $10. Michelle Phan curates the bags! Check it out here: http://www.ipsy.com/r/28ji
Another requested topic was all about Contouring & Highlighting.
Now I am no pro at this and still learning new tricks of the trade. This can be a little scary looking at first, but it will all come together and look natural.
You can either use cream products with a powder product on top or just a powder product. If you're just beginning I would suggest all powder products until you get comfortable and want to try the cream. I myself use all powder products except sometimes I do use a cream highlight and set it with a powder highlight.
Know that whatever you contour with a dark shade will appear sunken in or smaller and anything you highlight with a light shade will appear more raised.
Rimmel Natural Bronzer, Wet N' Wild Coloricon in Reserve your Cabana for a powder highlight, Benefit's Watt's Up! for a cream highlight.
3 simple steps
1. Contour
2. Blush
3 Highlight
RED= CONTOUR
YELLOW= HIGHLIGHT
TEAL= CONCEALER FOR EXTRA HIGHLIGHT (USE A SHADE OR TWO LIGHTER THAN SKIN TONE)
VIDEO SHOWING APPLICATION IS BELOW
You first want to apply your foundation, concealer and powder.
I always do my contour next with my bronzer. You will want a matte bronzer a few shades darker than your skin. You will apply the bronzer at the temples, hollows of your cheekbones, jaw line/neck, sides of your nose (optional), and below your bottom lip (again optional). You will use the 3/E method (temples, hollows of cheekbones, and jaw line) to apply the bronzer.
When trying to figure out where your hollows of your cheekbones are you will want to make the fishy face. You will have a natural indent and that is where you place your bronzer.
Next I apply my blush. I like to place my blush on the backs of my cheekbones, toward my hair line to make the face look lifted. I then add just a bit of whatever is left on the brush to the apples of my cheeks.
Lastly, I apply my highlight. I apply the highlight to the highest points of my face. That would be the tops of my cheek bones, cupids bow (right above upper lip), down the bridge of my nose, and then I like to put a little on my chin and just below the contour on my temples right above the brow. If you have oily skin, go easy on the highlight as it can make you look even more oily. I on the other hand have dry skin, so I love me some highlight. My skin can tend to look a little dull so I liven it up a bit with the highlight. Also a lot of people use their concealer in an upside down triangular shape to highlight under their eyes, I do this every once in a while.
After all 3 steps are done, make sure you BLEND, BLEND, BLEND!! Blend everything together in an upward motion, but out to your hair line to get rid of all the harsh lines.
Just know that this is how contouring and highlighting works for me. Every one's face shape is different and there are different ways to contour to flatter your face.
If you have an oblong, rectangle and square face you will want to contour the corners of your face to make them appear angular and slim. To give your face more dimension highlight your forehead and chin.
Diamond shape face: You want to contour your cheekbones since they are the highest and widest part of your face and it will even it out. Highlight your chin and forehead to elongate them and balance out with the rest of your face.
Inverted triangle & heart shape: These face shapes are already angular so what you're really just doing is enhancing them. Contour your temples and cheekbones (what I do in my video). Highlight your forehead and chin
Triangle: Contour the sides of your face to slim them down. Highlight your chin so it lengthens it as well as your forehead and underneath your eyes to give the illusion of cheekbones.
Round: Contour temples, cheekbones and sides of jaws. Highlight your chin and forehead.
Oval: Contour cheekbones and highlight forehead and chin.
Really it's up to you and what you want to have stand out or be slimmer. Just play around until you find something that you like for your face shape. These aren't rules, just guidelines.
Hope this was helpful. Like always leave your requests or questions with me at: marissa.agueros@gmail.com
With all my posts, I strive to write about content that my readers want to read or learn about. So as always leave your requests with me. Making my readers happy makes me happy!
I was asked to write a post all about exfoliating. Exfoliating is a key in the dry/cold Winter months and if you self tan! Exfoliating brings life back into your skin, just make sure you don't over do it!
When it comes to exfoliating you only want to exfoliate 2-3 times a week. I will share the steps I do to exfoliate to achieve healthy, glowing, soft skin.
2-3 times a week while I'm running the water to start my shower, I will take my dry brush (Wal Mart-$5) and exfoliate my whole body. With the dry brush you want to work from your feet up and always go toward your heart. Go over every section twice. When I get to the thigh & buttocks area I go in circular motions to help get rid of cellulite. It takes 2 mins and you can do it while your shower is warming up. Easy.
Now for your face, again, you only want to exfoliate 2-3 times a week. You can either do it morning or night. I choose to do mine in the morning since I have dry skin it helps make a smooth canvas for my make up. You want a fine and not harsh exfoliant. You can always make your own out of olive oil and sugar or baking soda, if you don't want to go out and buy a pre made kind. You can control the amount of grittiness by the simple DIY. I also have a Conair True Glow Facial Brush, that I just use a few times a week with my exfoliant. I feel the brush really gets all the dead skin off my face.
Now when it comes shower time, I use a sugar scrub. I get it at Wal Mart for around $5. I love the smell of it and it's a bit harsh, but I don't mind it. I know that it's getting all the dead skin off.
Another type of exfoliant I use is for my lips. This is a must for me. Since I have dry skin along comes the dry lips. You will really want to use this if you are going to be wearing a dark lipstick as it will really bring out all the flakes on your lips.
Just make sure that you really moisturizer your face, body and lips to keep them soft and smooth.
The Clean & Clear Facial Scrub has bigger beads in it than the Benefit one, but I love them both for my dry skin. The Mint Julips is from Lush and it is a miracle worker for my dry lips.
This is the $5 body scrub I use and I am in love with the smell. It smells like the Jergen's Almond Cherry lotion. The $5 dry brush is below the scrub. It comes with a handle that can attach for those hard to reach places.
My Aunt requested a Valentine's Day look so here it is! It's a neutral eye with a bold lip. If you're not feeling the bold lip you can opt for a nude or a pink. This eye look is created using the Urban Decay Naked Basics Palette. All the shades are matte except for the lid color we used, it's a pearly white. You can wear this eye look as an everyday look, it's my go to eye when I'm in a hurry. If you want it more dramatic for night time just take a black matte eye shadow and put that in the outer V instead of the matte brown.
If you don't have this palette you can easily find similar colors!
.JPG)
.JPG)


.JPG)

.JPG)


.JPG)